TFV | Tips for Visa
Vietnam’s e-visa system has made it easier than ever for visitors to enter the country, but many travelers still find the process confusing.
Here’s a clear, step-by-step breakdown of how Vietnam’s e-visa works, who can apply, and what you need to know before you travel.
What Is the Vietnam E-Visa?
The Vietnam e-visa is an electronic visa that allows eligible travelers to enter Vietnam for tourism, business, or transit. It eliminates the need to visit an embassy or consulate in person.
As of recent policy updates, many nationalities are eligible for an e-visa with stays of up to 90 days, single or multiple entry.
Who Can Apply?
Vietnam has gradually expanded its e-visa eligibility to cover a wide range of countries, including most of Europe, North America, and parts of Asia.
Before applying, check that your nationality is listed on Vietnam’s official e-visa portal.
How to Apply (Step-by-Step)
Step 1 — Visit the Official Portal
Go to Vietnam’s official government e-visa website (avoid third-party sites unless you prefer an agency service).
Vietnam’s National Electronic Visa System

Step 2 — Fill Out Your Details
You’ll need:
- Passport information
- Travel dates
- Entry and exit points
- A recent passport-style photo
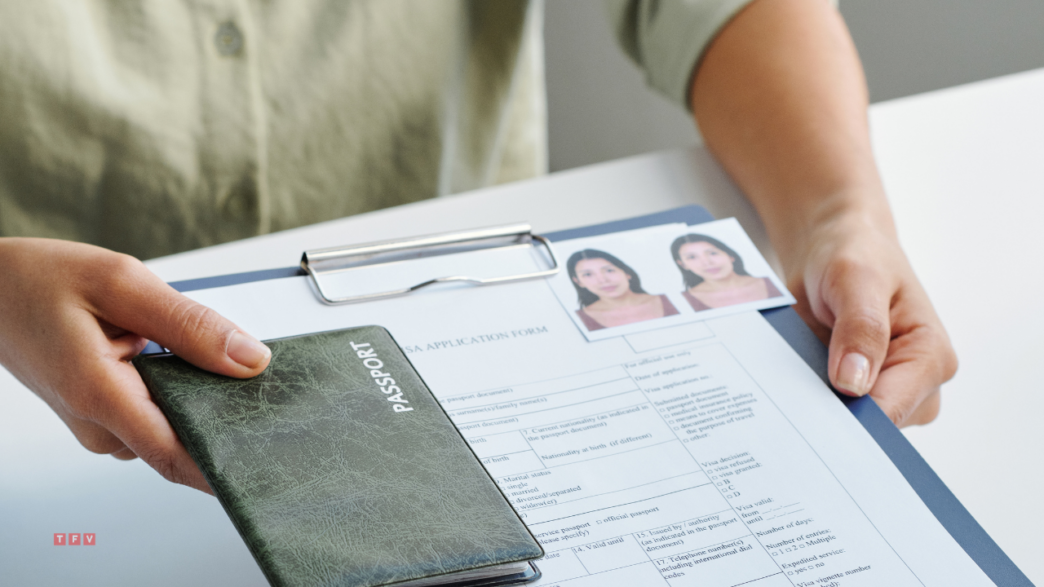
Step 3 — Upload Documents
Upload a clear photo of:
- Your passport bio page
- Your portrait photo

Step 4 — Pay the Fee
The e-visa fee is paid online via credit or debit card.
Step 5 — Wait for Approval
Processing typically takes 3–5 business days, though it can be faster in some cases.
Step 6 — Download and Print Out Your E-Visa
Once approved, download your e-visa or print a copy to present upon arrival. Printing is not required, but digital is mandatory.

Entry Points
Your e-visa will specify which airport or border crossing you can use to enter Vietnam. Common entry points include:
- Tan Son Nhat (Ho Chi Minh City)
- Noi Bai (Hanoi)
- Da Nang International Airport
- Phu Quoc International Airport
Make sure you enter through the exact point listed on your visa.
Common Mistakes to Avoid
Many applicants get delayed or rejected due to:
- Incorrect passport numbers
- Wrong dates of entry
- Blurry photos
- Mismatched travel details
Double-check everything before submitting.
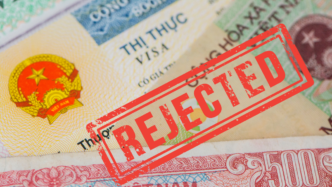
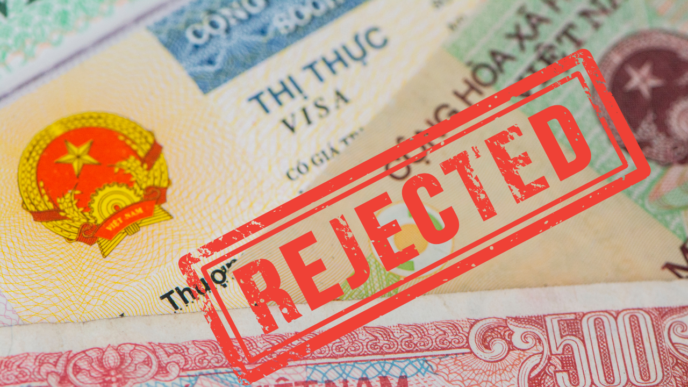
What If My E-Visa Is Denied?
If your e-visa is rejected, you can:
- Reapply with corrected details
- Use a visa-on-arrival service (if applicable) – Read Here
- Apply through a Vietnamese embassy or consulate – If needed
Final Advice
The Vietnam e-visa system is one of the simplest in Southeast Asia — as long as you follow the steps carefully. Applying early and ensuring accuracy will help you avoid last-minute travel stress.